We’ve all been there: one minute you’re texting, and the next, your iPhone takes a nosedive to the pavement. Result? A cracked screen. It’s the modern-day tale of woe. But fear not! If you’re dreading the cost of professional repair and you’re not too keen on soldering, you’re in the right place. This post is all about DIY fixes that are wallet-friendly and doable. We’ll walk you through five practical solutions, each tailored to different types of screen woes.
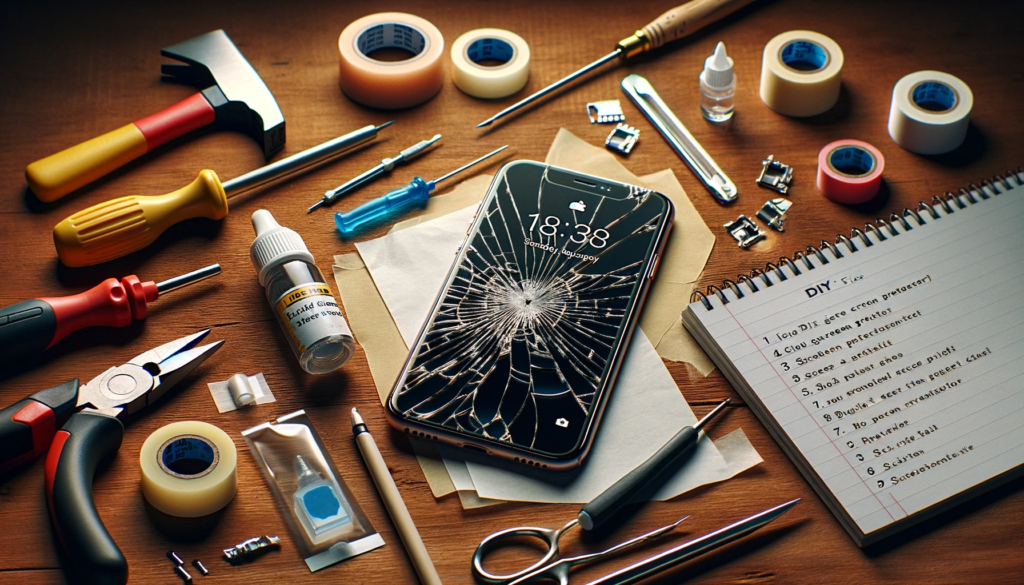
Pre-Fix Preparations (General for All Fixes):
- Safety First: Remember, safety glasses are your friend. Also, those cracked edges can be sharp – handle with care!
- Gather Tools: Depending on the fix, you’ll need a few tools like a screen protector, adhesive remover, or a heat gun. We’ll list the specifics in each section.
- Preparing Your iPhone: Power down your phone, remove its case, and give that screen a good clean. You’re now ready to start!
Fix 1: Clear Tape Patch (For Minor Cracks):
Got a few superficial cracks? The clear tape patch is your quick fix. It’s like putting a Band-Aid on a small cut. Here’s how:
- Clean the Screen: Ensure the surface is dust and oil-free.
- Apply Clear Tape: Carefully place a strip of tape over the crack. Clear packing tape works wonders.
- Trim Excess Tape: Use a precision knife for a clean edge. Pro Tip: Opt for a matte-finish tape to reduce glare.
Fix 2: Liquid Glass Screen Protector (For Moderate Cracks):
Liquid glass is like magic for moderate cracks. It’s a thin layer that fills in cracks and prevents further damage. Here’s the drill:
- Apply the Liquid Solution: Follow the instructions carefully, ensuring even coverage.
- Let it Dry: Patience is key. The drying time is crucial for the best results. Remember, this isn’t a permanent fix but a great interim solution.
Fix 3: Hydrogel Screen Protector (For Touch Sensitivity Issues):
When cracks start messing with your touch sensitivity, a hydrogel screen protector is the go-to:
- Align and Apply: This step requires a bit of finesse for perfect alignment.
- Smooth Out Bubbles: Use a card to gently push out any air bubbles. Hydrogel protectors are great for maintaining the touch feel of the original screen.
Fix 4: Screen Replacement Kit (For Deep Cracks & Touch Loss):
This one’s for the brave. A screen replacement kit is your best bet for deep cracks and touch issues:
- Choose the Right Kit: Make sure it’s compatible with your iPhone model.
- Follow the Instructions: Take your time. Each step is crucial. Remember, this will likely void any existing warranty.
Fix 5: DIY Screen Repair Services (For Those Hesitant to DIY):
Not feeling confident? No problem. There are DIY repair services that can help. Do your research and find a reputable service.
Conclusion:
There you have it – five DIY fixes for your cracked iPhone screen, soldering not required. Remember, the best fix depends on the severity of the crack and your comfort with DIY. Don’t be afraid to give these a try. You might just surprise yourself with your handy skills!
Leave a Reply